Easy MacOS OpenVPN Setup Tutorial
MacOS OpenVPN setup with CoverMeVPN is an awesome way to keep your online stuff private and secure. This guide will take you through the simple steps to set up your Mac to connect to CoverMeVPN using OpenVPN. Whether you want to protect your personal data on public Wi-Fi or access geo-restricted content, this setup will make sure your internet traffic stays encrypted and private. Just follow this guide to step up your browsing game with CoverMeVPN on your MacOS device.
MacOS OpenVPN Setup - Step 01
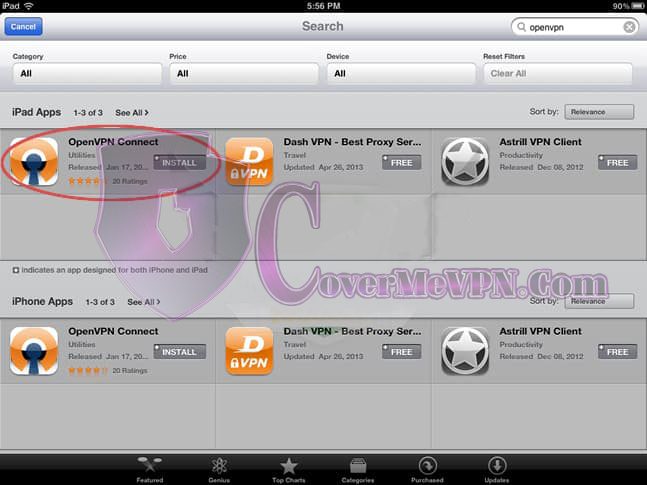
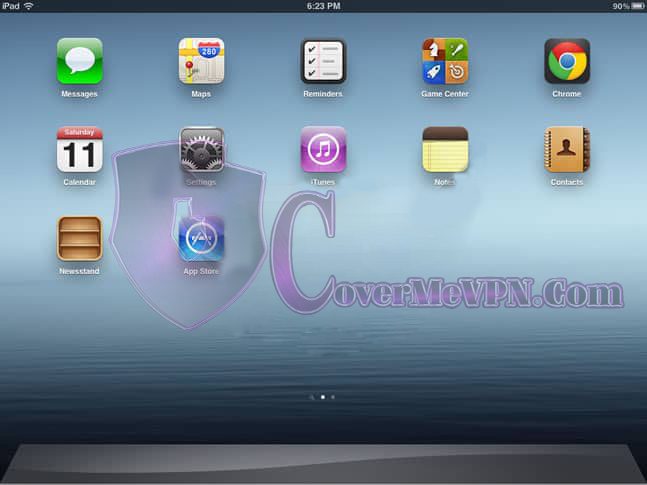
Open Apple App Store from your iPad/iPhone.
iPad/iPhone OpenVPN Setup - Step 02
Search “openvpn” in Apple App Store and install OpenVPN Connect app.
MacOS OpenVPN Setup - Step 03
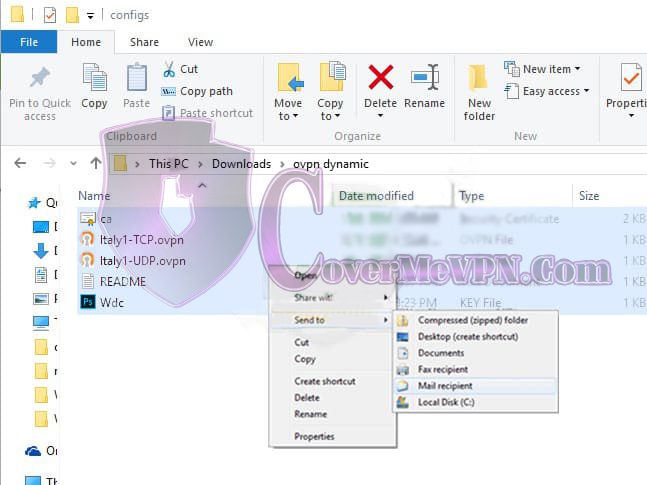
Download the covermevpn’s configuration files that is applicable to your subscription as below links:
- Dynamic VPN Configuration file.
- Mini Dynamic VPN Configuration file.
- For Dedicated VPN unique IP has been sent to you with VPN account details after your payments.
- Then go to your Downloads folder and unzip the ovpn dynamic.zip
- You can send unzipped .ovpn files to your iPad/iPhone Via Email or any means that is easy for you.
iPad/iPhone OpenVPN Setup - Step 04
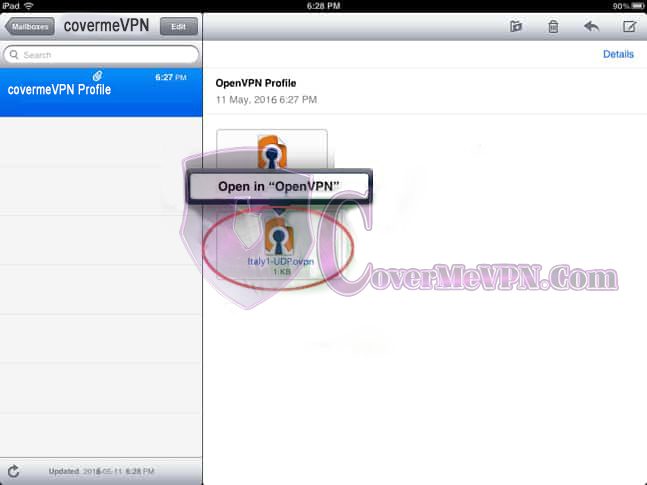
Open email in iPad/iPhone mail app and open attachment in OpenVPN Connect app.
MacOS OpenVPN Setup - Step 05
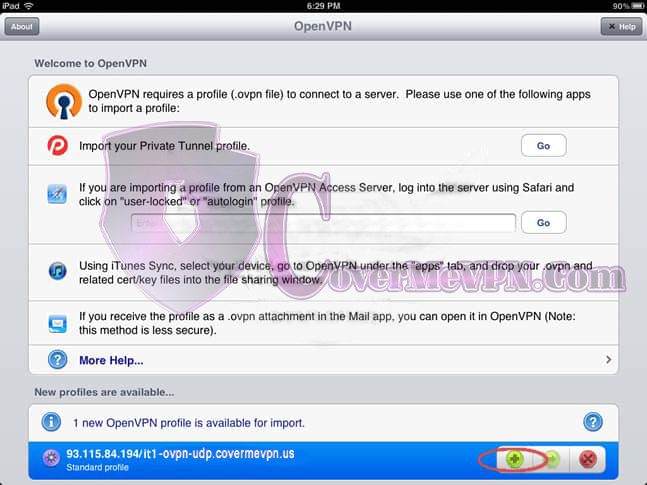
Import covermevpn server profile into OpenVPN Connect app.
iPad/iPhone OpenVPN Setup - Step 06
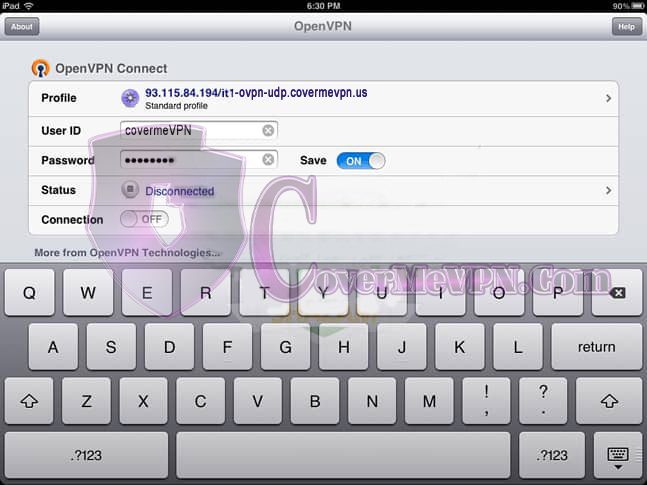
Enter username/password and switch “Connection” to ON.
iPad/iPhone OpenVPN Setup - Step 07
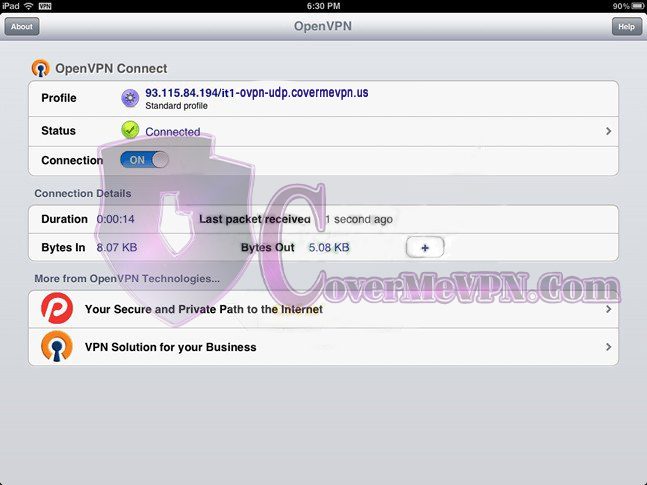
Now your device successfully connects to covermevpn server.