Windows 8 PPTP VPN setup with CoverMeVPN is a simple way to enhance your online privacy and access restricted content. This guide will help you set up your Windows 8/8.1 device for PPTP to keep your internet traffic secure. CoverMeVPN’s PPTP protocol has strong encryption and reliable performance, making it a great choice for keeping your data safe and accessing geo-restricted content. Whether you want to protect your online activities on public Wi-Fi or access global content easily, this setup will give you a secure and private browsing experience with CoverMeVPN.
Windows 8 PPTP VPN Setup - Step 01
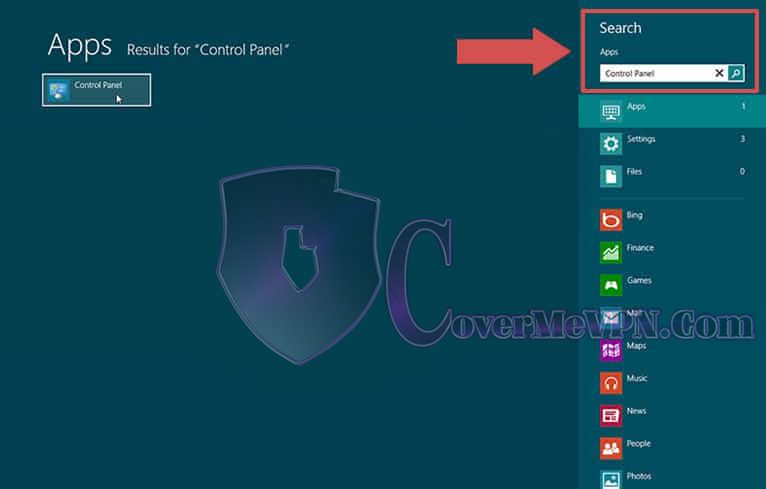
Open the Windows Search Bar by hitting the Windows key and the letter ‘q’. Inside of the search box, type in ‘Control Panel’.
Windows 8 PPTP VPN Setup - Step 02
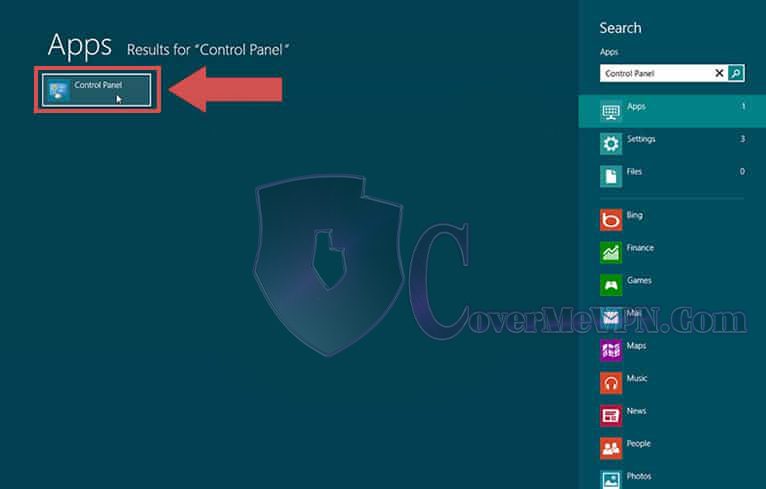
The Control Panel icon should appear to the left. Click to open the Control Panel.
Windows 8 PPTP VPN Setup - Step 03
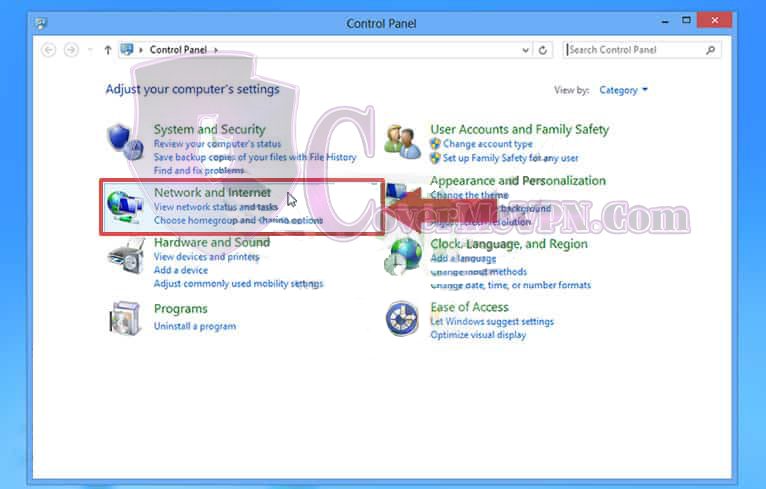
Open ‘Network and Internet’.
Windows 8 PPTP VPN Setup - Step 04
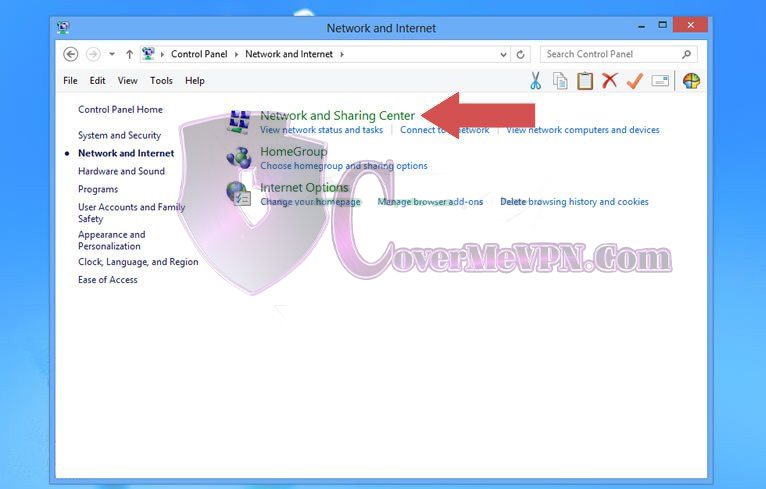
Open the ‘Network and Sharing Center’.
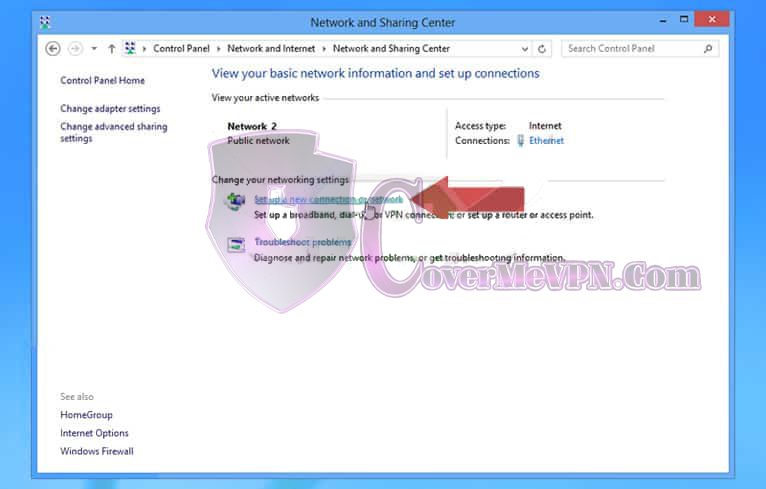
Windows 8 PPTP VPN Setup - Step 05
Choose ‘Set up a new connection or network’.
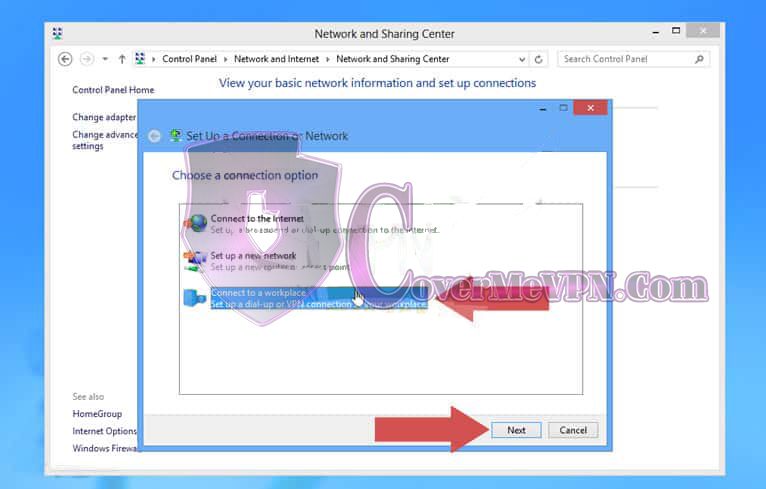
Windows 8 PPTP VPN Setup - Step 06
Choose ‘Connect to a workplace’, and click the Next button at the bottom.
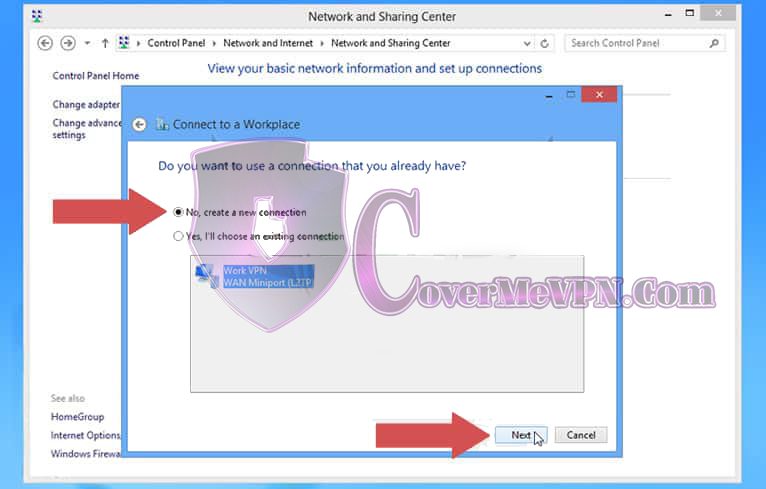
Windows 8 PPTP VPN Setup - Step 07
If you have another connection already present, you’ll be asked if you want to use a connection that you already have. Choose the radio button that says ‘No, create a new connection’ and click the Next button at the bottom
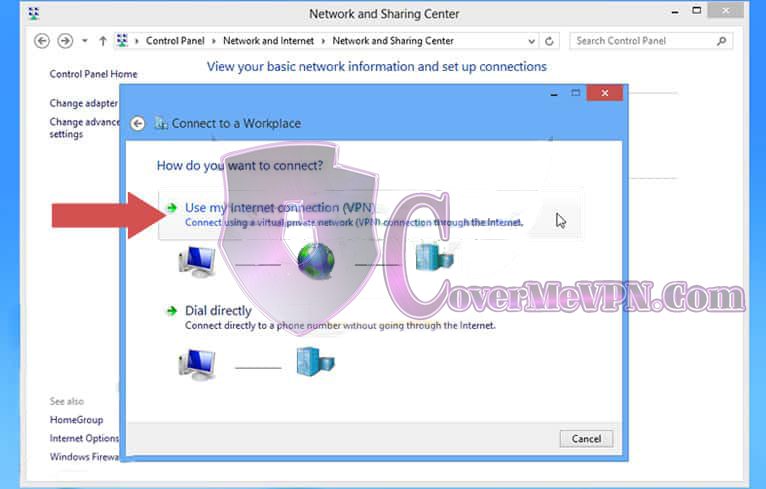
Windows 8 PPTP VPN Setup - Step 08
Choose ‘Use my Internet connection (VPN)’.
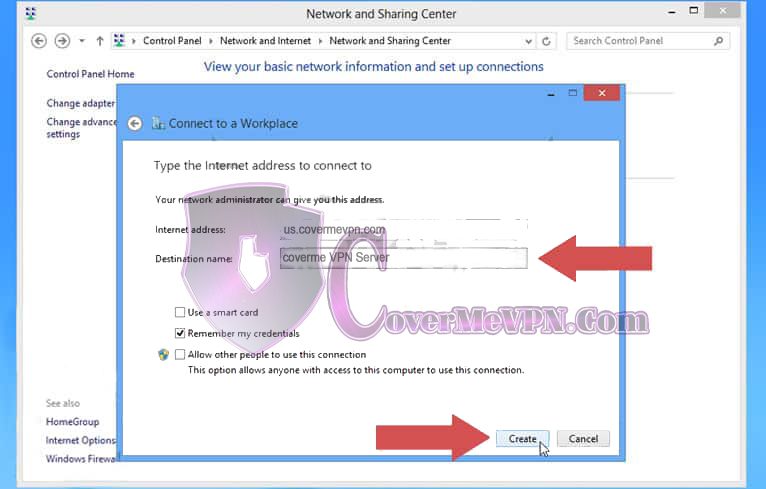
Windows 8/8.1 PPTP VPN Setup - Step 09
For Destination name, please choose a name that you will recognize for the connection. For Internet address, field, fill in the server IP from our Dynamic VPN and Chines list or Mini Dynamic (dedicated VPN check our mail to you) according to your purchased package that you would like to connect.
Do *not* put a checkmark next to ‘Use a smart card’. It is optional to put a checkmark next to ‘Remember my credentials’ and ‘Allow other people to use this connection.’ Click the Create button at the bottom.
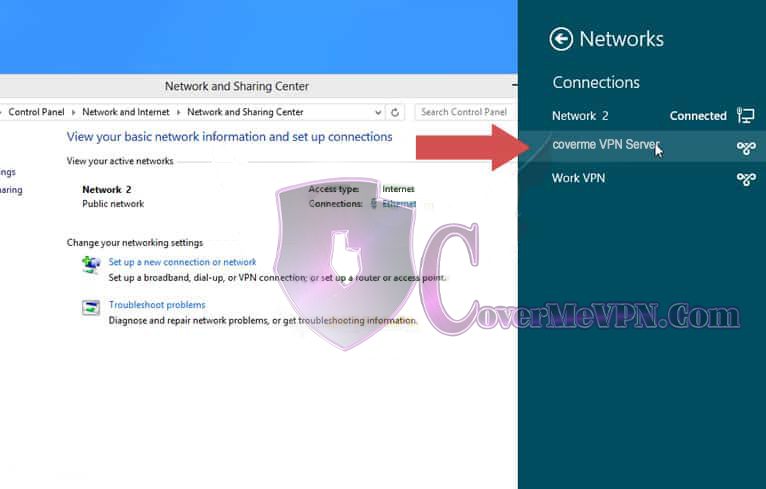
Windows 8/8.1 PPTP VPN Setup - Step 10
The VPN connection will show in a list to the right.
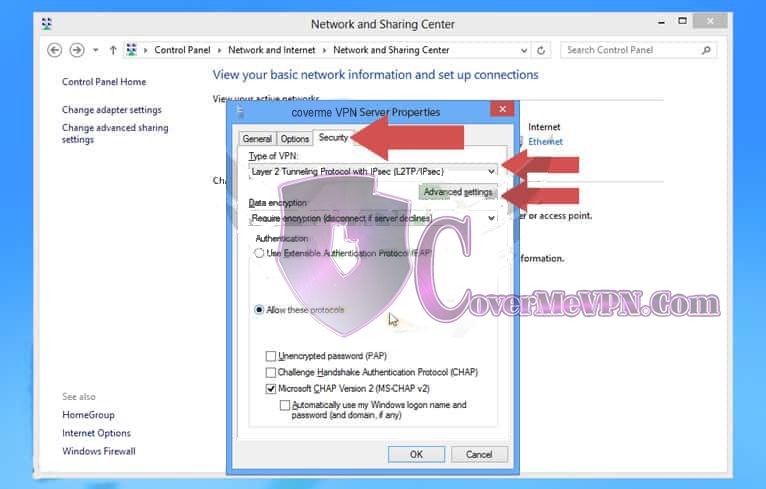
Windows 8/8.1 PPTP VPN Setup - Step 11
Click on the Security Tab. Under the heading ‘Type of VPN:’ choose ‘Point to Point Tunneling Protocol (PPTP)’. On the same page, click the radio button next to ‘Allow these protocols’. Place a checkmark next to ‘Microsoft CHAP Version 2 (MS-CHAP v2)’.
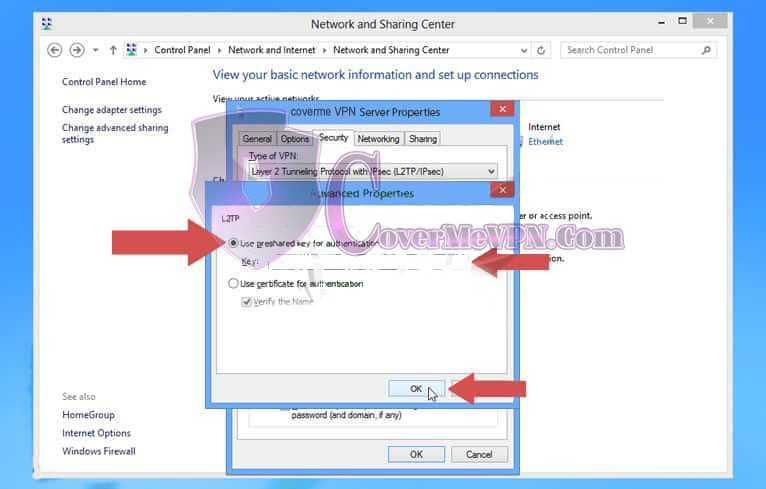
Windows 8/8.1 PPTP VPN Setup - Step 12
Click on the Networking Tab. Remove checkmarks from everything except ‘Internet Protocol Version 4 (TCP/IPv4)’. Click the OK button at the bottom. You can now have peace of mind that your online activities are secured from prying eyes.